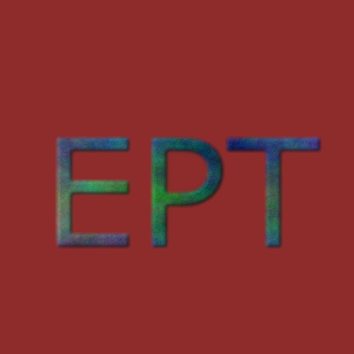
2. Add text (text tool) in the image.
3. Top layer is more visible. Right click on ETP (Newly Created Visible Layer) layer and select New from Visible.
4. Now create new layer which is top of text layer [ETP[. Layer -> New Layer (Shift+Ctrl+N).
5. Filters -> Render -> Clouds -> Plasma (add color).
6. Now you want to modify the text style. You have to invisible the clouds layer. So, click the eye button left with clouds layer and select text layer [EPT{. Now, Filters -> Blur -> Gaussian Blur.
7. Back on the [clouds] top layer by click the eye button of clouds layer.
8. For showing text use Bump Map, here [clouds] top layer must selected. Filters->Map->Bump Map.
10. Select text layer [second layer]. Now, Edit -> Copy.
11. Select top layer mask section and Edit -> Paste.
13.Now, you can add new layer. So, click on visible layer and add new layer (Shift + Ctrl + N)
14.Select Layer #1. Select background color and use Bucket Fill for changing background color.
15. Finally, File -> Export and select desired format.


No comments:
Post a Comment